


Laser Skin Resurfacing for Age Spots: A Timeline
The first days after laser resurfacing may look rough before age spots begin to fade. The timeline for laser skin resurfacing for age spots depends on the laser, treatment depth, and your skin’s response. Here’s how to plan for assessment, treatment, healing, and follow-up without expecting an instant result.
We analyzed 57 comments from YouTube and Reddit about laser skin resurfacing for age spots and found that 39% mentioned lack of noticeable improvement.
Table of Contents
Step 1: Have the Spots and Your Skin Assessed
Start by having a qualified clinician check the spots and your skin. Age spots are linked to sun damage, but not every brown patch is an age spot. Melasma and other causes of uneven color can need a different plan, and some pigment conditions may worsen with laser treatment.
At the assessment, describe when the spots appeared and whether they’ve changed. Share your skin-care routine, medicines, past skin treatments, history of cold sores, and any recent sun exposure. Mention eczema or other active irritation, too. Your clinician needs this context to weigh the likely benefit against the risk of irritation or a change in skin color.
Laser resurfacing can remove damaged outer skin and heat deeper layers to support collagen growth. It can improve uneven color, but it can’t fix sagging skin. The treatment approach depends on the person’s skin and goals.
Skin tone matters. Some laser settings carry a higher risk of dark or light patches after treatment, so your provider should assess your natural skin color and the spots themselves before choosing a device. If you have darker skin, ask how the clinician plans to lower the chance of pigment changes. Pre-treatment pigment care may be part of the plan, but it should be chosen and supervised by your clinician.
PS Aesthetics Wellness + Skinbar lists laser skin resurfacing among its services in Edmond. Its site says medical aesthetic treatments are performed or overseen by Paige Schwab, APRN, FNP-BC. A consultation is a chance to talk through what you want to treat and ask how the team expects your recovery to unfold.
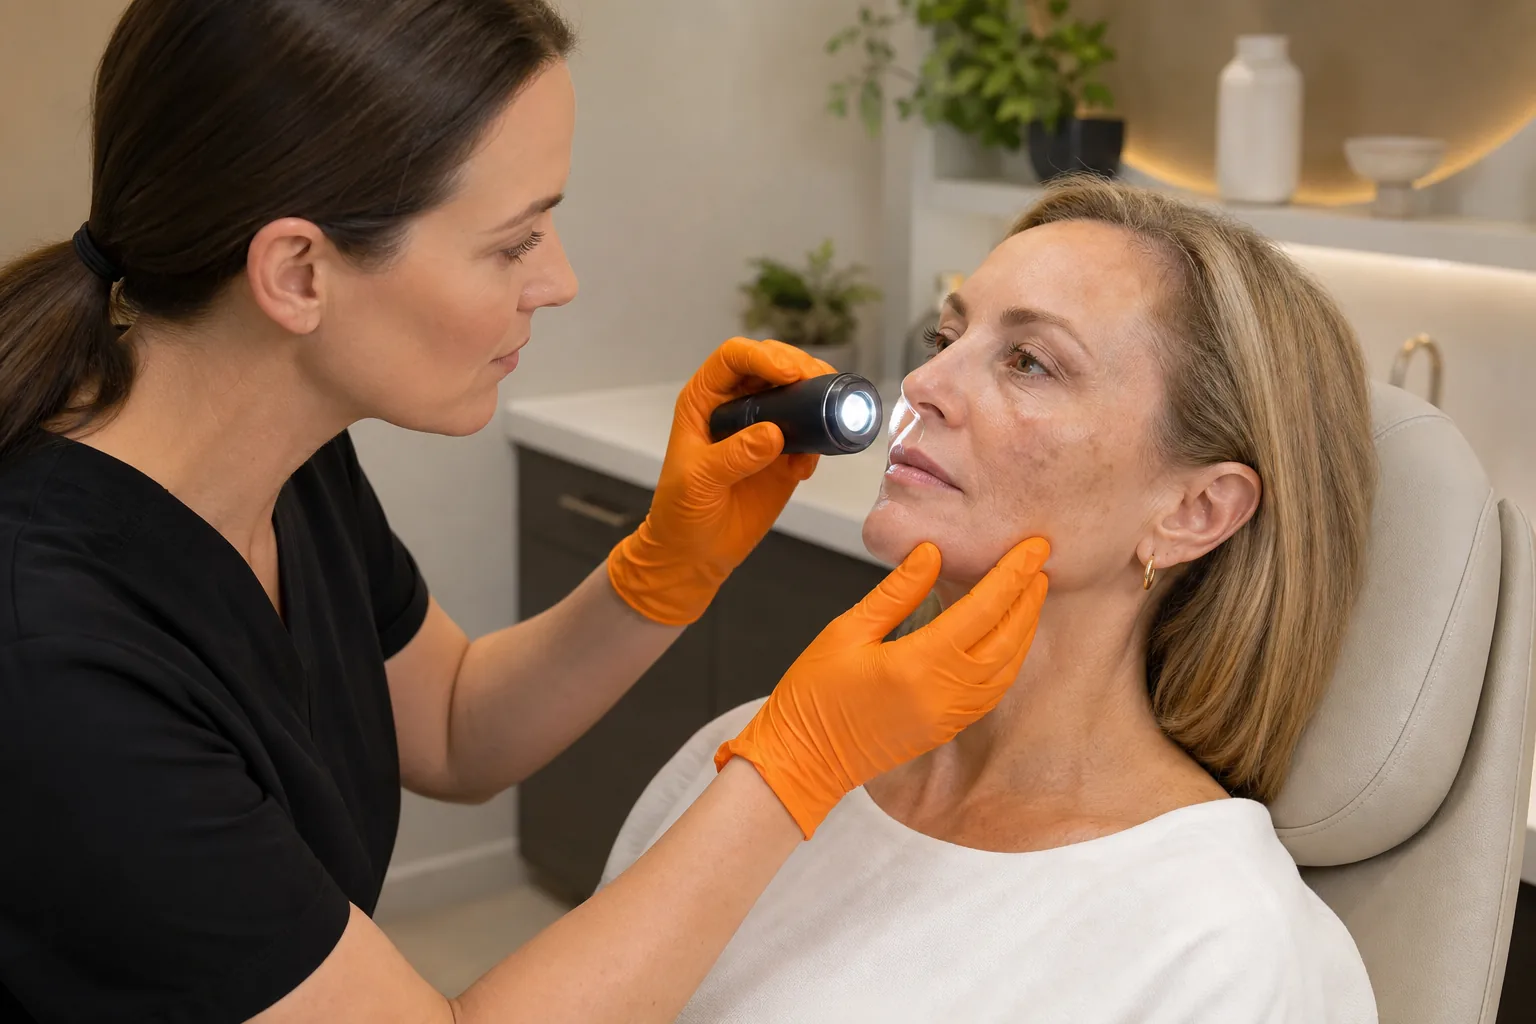
By the end of this step, you should know whether the spots appear suitable for laser treatment and what details your clinician needs before setting a plan.
Step 2: Choose a Laser Approach and Set a Realistic Schedule
Ask what the proposed device does, how many visits may be needed, and how much visible healing time to plan for. “Laser resurfacing” covers several approaches. Ablative treatment removes the outer skin layer. Nonablative treatment heats deeper tissue without removing the surface. Either approach can be fractional, which treats narrow columns while leaving nearby skin intact.
CO2 and Er:YAG are ablative laser types. Non-fractional ablative treatment may take one session, but the early healing period can last 7 to 10 days. Nonablative resurfacing may need 2 to 4 sessions, with short recovery after each . Fractional treatments may also take a series. For example, Fraxel Dual may require four to six treatments.
Use the table as a conversation guide, not a treatment recommendation. Your clinician should match the method to the spot pattern, skin tone, treatment depth, and the time you can set aside for healing.
Approach | Typical session pattern | What to plan around |
Non-fractional ablative | Often one session | About 7 to 10 days of initial downtime; skin can take longer to recover fully. |
Nonablative resurfacing | Often 2 to 4 sessions | Recovery is usually shorter, but improvement can build over a series. |
Fractional resurfacing | Often 2 to 4 sessions; some devices may call for more | Recovery varies with whether the treatment is ablative or nonablative. |
IPL or BBL light treatment | Often a series | These are light-based treatments, not lasers. Ask how the plan differs from resurfacing. |
IPL and BBL use broad light rather than a laser beam. They may be considered for brown or red discoloration, but a clinician should first confirm the type of pigment being treated. If melasma is a concern, say so before any light or laser session. Devices can differ in treatment intensity and downtime.
Don’t assume more sessions mean faster final results. Session plans can range from one to six visits, while full results may take about 30 to 180 days. A longer series can still take longer to show its final effect. PS Aesthetics Wellness + Skinbar can be a local starting point for discussing its laser resurfacing service and the schedule that fits your goals.
For a closer look at how treatment types differ, see the guide to laser treatments for age spots . Before booking, ask your clinician to write down the expected session spacing and when they’ll review progress.
Key Takeaway:Plan around the treatment type and your clinician’s timeline, not the assumption that one session will clear every spot.
Step 3: Prepare for Treatment and Follow Your Clinician’s Instructions
Good preparation lowers avoidable risks and helps you arrive ready for the procedure. Follow the clinic’s instructions rather than trying a new skin-care routine on your own. The right prep can differ by laser type, treatment depth, and your medical history.
Limit sun exposure before treatment and tell your clinician if you’ve had a recent tan or sunburn. Sun exposure can affect how skin responds, while treated skin will need careful protection as it heals. Ask when to stop active skin-care products, such as exfoliants or retinoids, and when you can restart them. Don’t stop a prescribed medicine unless the clinician who manages it tells you to.
Share any history of cold sores, since resurfacing around the mouth can trigger a flare in people who are prone to them. Also ask about smoking and medicines or supplements that may affect bleeding. Discuss your medical history, expectations, and potential risks with your clinician; your own clinician should give you instructions for your case.
Before the appointment, make a simple recovery plan. Set aside time away from work or social plans if your chosen treatment has downtime. Ask whether you’ll need someone to take you home, especially if sedation is planned. You may feel heat or stinging during treatment, but numbing methods vary. Have the clinic explain the comfort plan before the procedure begins.
After treatment, follow the care plan you receive. Depending on the approach, that may include a prescribed ointment or dressing. Cool packs may help with swelling when your clinician approves them. Don’t pick crusts or peeling skin. Don’t add vinegar compresses, new creams, or home remedies unless your care team has specifically told you to use them.

Before you leave, get the aftercare steps in writing.That way, you won’t have to guess what to put on your skin when it feels sore or tight.
By now, you should have a clear plan for sun avoidance, medicines, comfort measures, and the first days of healing. Keep your clinician’s instructions close and check with the clinic before changing them.
Step 4: Track Healing, Spot Fading, and Follow-Up
Think of recovery in phases, not as a single day when the spots vanish. Right after treatment, skin may feel hot or sunburned. Redness and swelling can follow. With deeper ablative treatment, skin may ooze or form crusts. Nonablative treatment often has a shorter recovery, though temporary swelling or color change can still occur.
First few days
Follow the wound-care instructions you were given. Keep the area clean as directed, use only approved products, and don’t scratch or pick. Treated skin can feel like a mild sunburn, with redness, swelling, itching, or stinging. More intensive treatment can leave raw or crusted skin.
About days five to ten
Dryness and peeling often begin around five days to a week after resurfacing. New skin may look pink once the old surface sheds. The length of this phase depends on treatment depth. Non-fractional ablative resurfacing commonly has 7 to 10 days of initial downtime, while nonablative methods often have much less.
Weeks two to four
Early fading may become easier to see once the surface has healed. Visible improvement can appear anywhere from about seven to 28 days after treatment. That range isn’t a promise for any one person. Keep protecting the area from sun, and don’t restart strong products until your clinician says it’s safe.
One to six months
Final results can take longer than the first visible change. Reported timelines range from about 30 days to six months. Pinkness may linger beyond the peeling stage, and the skin can keep changing as it heals. Pinkness may gradually lighten over time, and redness can last longer for some people.
Keep follow-up visits so your clinician can check healing and compare the spots over time. A photo taken in the same light can help you track changes without relying on memory. Contact your care team if symptoms seem to worsen or you’re concerned about infection, blistering, or a marked shift in skin color.
Sun protection remains part of the plan after healing. Use the sunscreen and skin-care routine your clinician recommends, since new sun damage can bring back uneven color. Pinkness can take time to fade, and skin protection matters during healing; see the recovery guidance .
If you want a closer look at what the recovery stages can feel like, read what to expect during laser resurfacing downtime . Your own plan should still follow the instructions from the clinician who treated you.
Pro Tip:Take a baseline photo before treatment, then use the same spot, lighting, and angle at follow-up. It makes gradual color changes easier to judge.
Frequently Asked Questions
How long does it take for age spots to fade after laser treatment?
Age spots may show early fading within one to four weeks, but final results can take longer. Reported visible improvement ranges from about seven to 28 days, while full results may take 30 to 180 days. Your laser type, treatment depth, and skin response all affect the pace, so use your clinician’s estimate for your plan.
How many laser sessions are needed for age spots?
Some ablative treatments may use one session, while other approaches need a series. Reported schedules range from one to six sessions. Nonablative and fractional methods often require repeat visits spaced over weeks or months. Ask how many sessions your clinician expects and when they’ll decide whether another treatment is needed.
How long is downtime after laser resurfacing?
Downtime depends on the treatment. Nonablative resurfacing often has a short recovery, while non-fractional ablative treatment may need about 7 to 10 days of initial downtime. Redness can last after the skin has closed. Ask what you can expect day by day, including when you can return to work and normal skin care.
Can laser treatment make age spots worse?
Laser treatment can cause temporary or lasting changes in skin color, and some pigment conditions need extra care. That’s why your clinician should confirm what the spots are before treatment and assess your skin tone. Tell them about melasma, recent tanning, or prior pigment changes so they can decide whether laser treatment is suitable.
Conclusion
Give your skin time: early fading and final results happen on different schedules. Start with an assessment, then ask your clinician for a written plan covering sessions, downtime, and follow-up. If you’re in Edmond, PS Aesthetics Wellness + Skinbar is one local place to discuss laser skin resurfacing and what timeline may fit your skin.

Comments