


Microneedling Aftercare: A Step‑by‑Step Guide
Just had microneedling? Your skin looks pink, tight, and a bit raw. That’s normal , the tiny channels your provider created are working to boost collagen. The real magic happens after you leave the spa, when you follow the right after‑care plan. In this guide we walk through each step you need to take, from the first wash to the day you can wear makeup again. Follow these steps and you’ll keep your skin safe, comfortable, and on track for a smooth, radiant glow.
Step 1: Cleanse Gently
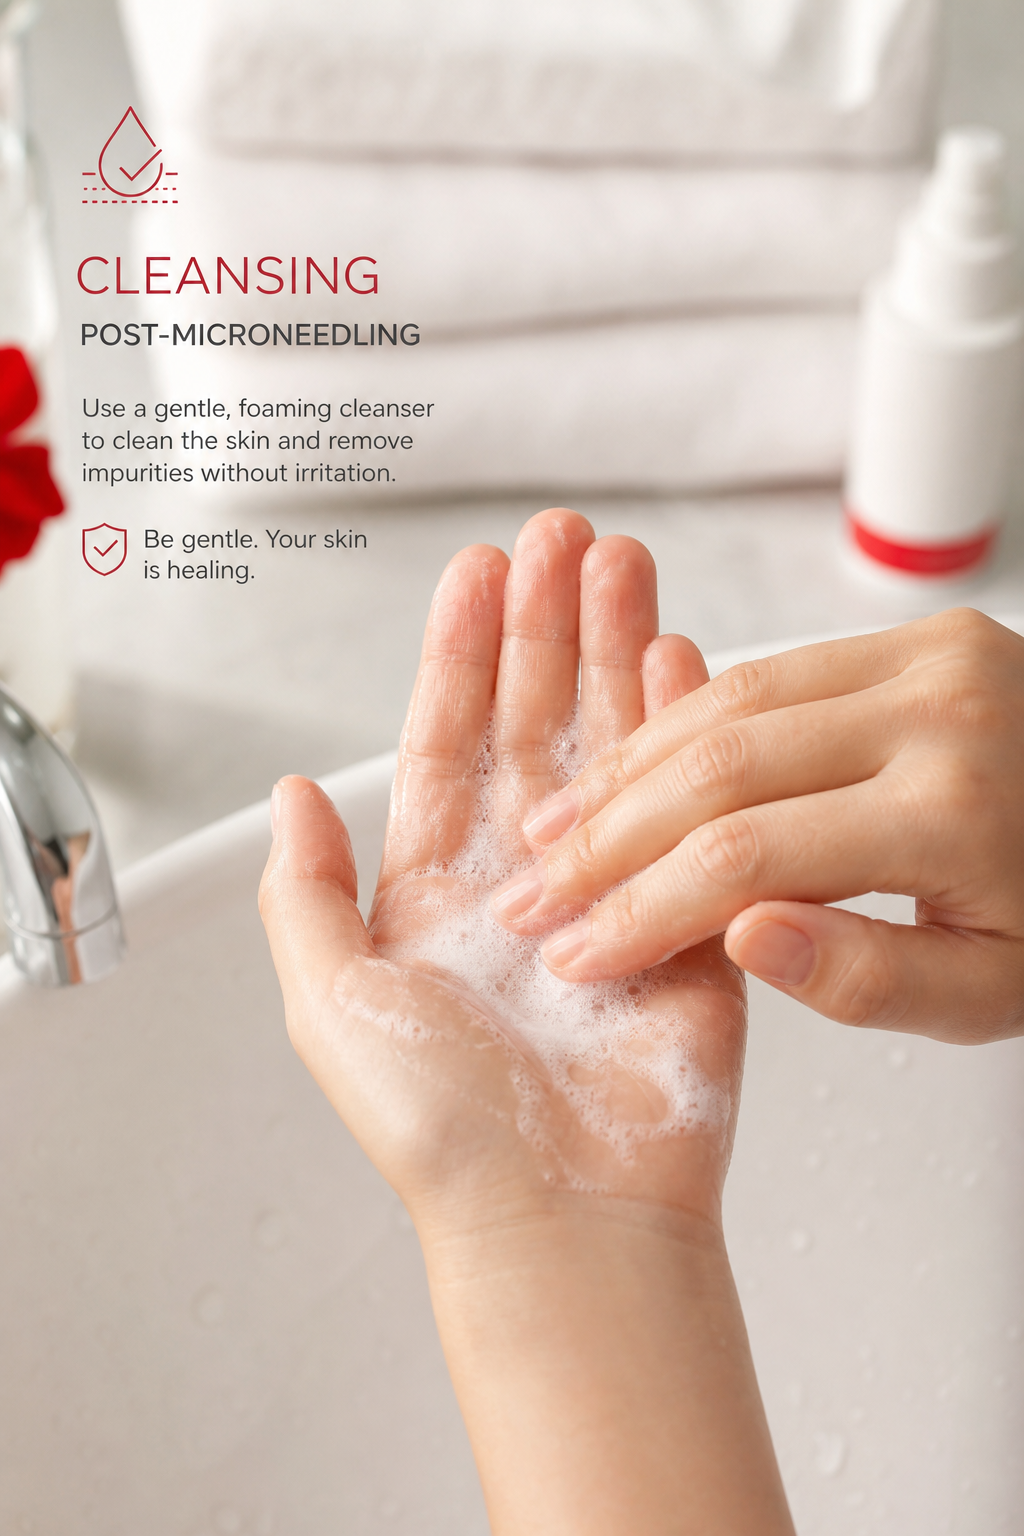
Cleaning is the first line of defense after microneedling. The micro‑channels are open, so you want to remove surface dirt without stripping the skin’s natural barrier. Most experts say wait at least four to six hours before any water touches the treated area. Expert guides note that a gentle, fragrance‑free cleanser works best, and it should be pH‑balanced so it doesn’t irritate the fresh tissue.
When it’s time to wash, use lukewarm water , not hot , because heat can increase redness. Scoop a pea‑size amount of cleanser onto clean fingertips, not a washcloth or sponge. Rub in slow, circular motions for ten seconds, then rinse carefully. Pat the skin dry with a soft, clean towel; never rub or pull.
Why does this matter? The skin is in a repair phase; harsh scrubbing can reopen the tiny wounds and cause stinging. A mild cleanser keeps the surface clean while letting the deeper healing continue unhindered.
Here are some quick do’s and don’ts:
Do wait 4‑6 hours before the first rinse.
Do use a fragrance‑free, sulfate‑free formula.
Don’t use exfoliating scrubs or brushes for the first week.
Don’t use hot water or harsh chemicals.
If you prefer a product that’s already formulated for post‑procedure skin, ask your practitioner about the clinic’s own line of soothing cleansers.
Key Takeaway:Gentle, lukewarm cleansing after the initial 4‑6 hour window protects the skin’s barrier and supports healing.
Step 2: Apply Soothing Serums
Once the skin is clean, a calming serum can flood the micro‑channels with nutrients. Hyaluronic acid is a top choice because it can hold up to 1,000 times its weight in water, giving the skin a quick boost of hydration. Wikipedia explains how hyaluronic acid works and why it’s safe for sensitive, post‑procedure skin.
A freeze‑dried, preservative‑free serum that mixes fresh before each use is ideal. The powder stays stable until you add the liquid, so the actives stay potent. Mix the powder with the provided solution, shake gently, and apply a few drops with clean fingertips. The serum should absorb within seconds, leaving no sticky residue.
For extra comfort, look for serums that contain tremella extract , a natural alternative to hyaluronic acid that also forms a light film on the skin. This helps lock in moisture and reduces the feeling of tightness.
Apply the serum twice a day for the first three days, then once a day as the skin settles. If you notice any stinging, wait a few more hours before re‑applying.
Pro tip: store any leftover mixed serum in the fridge. The cool temperature keeps the formula fresh and gives a soothing sensation when you apply it.
Pro Tip:Use a fresh mix each time you apply the serum to maintain maximum potency.
For a deeper dive on how serums enhance microneedling results, check out the Microneedling with PRP: Benefits, Procedure, and Aftercare guide . It walks through in‑office boosters that work hand‑in‑hand with at‑home serums.
Step 3: Moisturize and Protect
Moisture is the glue that holds the healing process together. A barrier‑repair moisturizer that contains ceramides, squalane, or niacinamide will seal in the serum’s benefits and keep the skin from losing water. The skin loses moisture faster after microneedling, so a rich but non‑comedogenic cream is key.
Apply a pea‑size amount after the serum has fully absorbed. Gently press the cream into the skin , no rubbing. This creates a protective layer that shields the fresh tissue from environmental irritants.
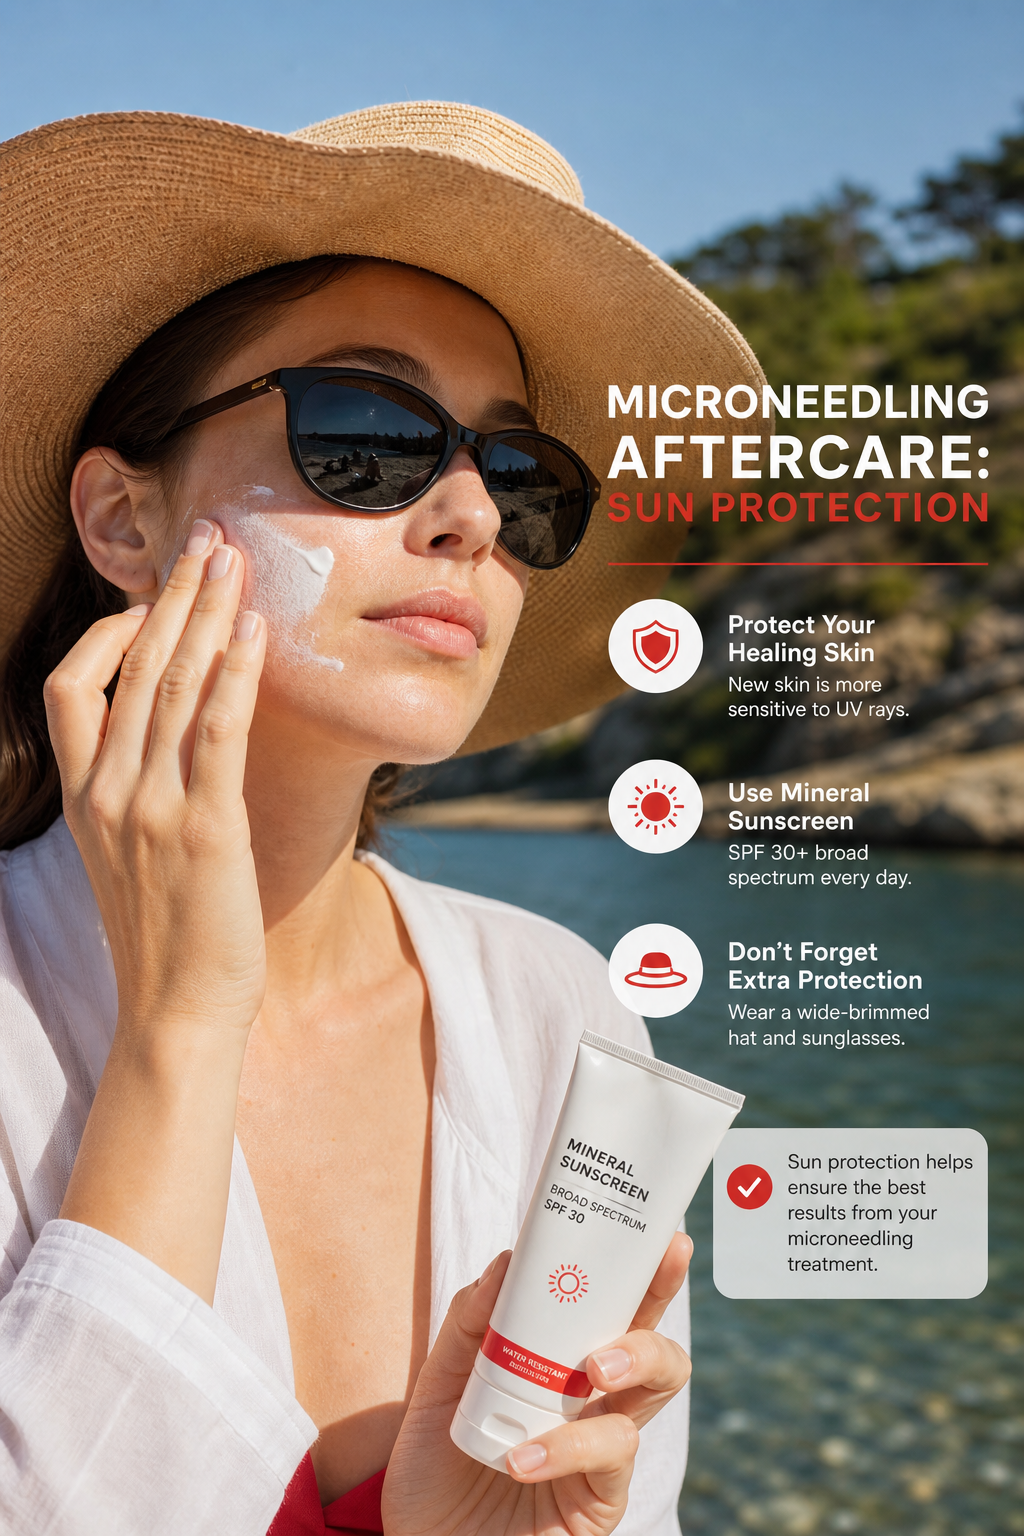
When it comes to sun protection, mineral (physical) sunscreens are the safest bet. Look for zinc oxide or titanium dioxide at SPF 30 or higher. CDC’s UV protection guide notes that chemical sunscreens can sometimes irritate post‑procedure skin, while mineral filters sit on top of the skin without penetrating.
Ingredient | Benefit | Why It’s Good After Microneedling |
Ceramides | Restore barrier | Helps seal micro‑channels |
Squalane | Lightweight hydration | Absorbs quickly, no clogging |
Niacinamide | Redness reduction | Calms inflammation |
Zinc oxide SPF 30+ | Physical sunscreen | Blocks UV without irritation |
Keep the moisturizer on for at least a week before swapping for a lighter lotion. If you feel any itching, a thin layer of a basic protective ointment can act as a barrier overnight.
Step 4: Avoid Sun Exposure
Sunlight is the biggest enemy right after microneedling. The new skin cells are fragile and can burn or darken easily. Most experts advise staying out of direct sun for at least 48 hours, and many recommend a full two‑week period of diligent protection.
When you must go outside, wear a wide‑brimmed hat, UV‑blocking sunglasses, and apply a mineral sunscreen at least 15 minutes before stepping out. Reapply every two hours, or after sweating or toweling off.
Even on cloudy days, UV rays penetrate the clouds. That’s why daily sunscreen use becomes a habit after microneedling.
Here’s a quick checklist for sun safety:
Choose a mineral sunscreen with zinc oxide or titanium dioxide.
Apply a generous layer (about a nickel‑size amount for the face).
Wear protective clothing and a hat.
Reapply every 60‑90 minutes when outdoors.
Our clinic, PS AESTHETICS wellness + skinbar , offers a complimentary sun‑shield consultation for new microneedling clients. We can help you pick the right sunscreen and teach you how to layer it with your moisturizer.
Step 5: Skip Makeup and Harsh Products
Makeup can trap bacteria in the fresh micro‑channels, leading to breakouts or infection. Wait at least 24 hours before applying any foundation, powder, or concealer. If you need coverage, choose a mineral‑based, non‑comedogenic product that is fragrance‑free.
Harsh actives , retinol, vitamin C, AHAs, BHAs, or salicylic acid , should be paused for at least a week. These ingredients can cause a burning sensation on the already sensitive skin and may interfere with the collagen‑building process.
Even your regular cleanser should be the mild, fragrance‑free kind you used in Step 1. Anything with exfoliating beads or acids can scrape away the new tissue.
When you do re‑introduce makeup, use clean brushes or sponges. Disinfect them with a quick alcohol wipe before each use. Apply with a light tapping motion, not a sweeping stroke.
For a deeper look at makeup safety after microneedling, see the advice from Meet Paige Schwab, our lead aesthetic nurse practitioner . She walks clients through product choices that won’t jeopardize their results.
Step 6: Manage Side Effects
Redness, swelling, and mild flaking are normal for the first few days. If the skin feels tight, a cool compress (a clean washcloth soaked in cold water) can soothe it. Avoid ice directly on the skin , wrap it in a thin cloth.
For occasional itching, a thin layer of hydrocortisone 1% can calm the area, but only if your practitioner approves. Over‑the‑counter pain relievers like acetaminophen are fine; avoid ibuprofen or naproxen because they can thin the blood and delay healing.
If you notice any of these warning signs, call your provider right away:
Excessive bleeding or bruising.
Severe pain that doesn’t improve with OTC meds.
Signs of infection , pus, increasing redness, fever.
Most side effects fade within a week. By the end of the second week, you should see the early glow of collagen production, and the skin will feel smoother and more hydrated.
FAQ
How long should I wait before washing my face?
Most clinicians advise waiting at least 4‑6 hours before the first rinse and a full 24 hours before using any cleanser. This gives the micro‑channels time to start sealing and reduces the risk of irritation.
Can I use a regular facial cleanser after 24 hours?
Yes, but stick to a fragrance‑free, sulfate‑free formula. Anything with strong surfactants or exfoliating acids can disrupt the healing barrier and cause redness.
Is it okay to apply a moisturizer right after the serum?
Apply the serum first, let it absorb for a minute, then seal it with a gentle moisturizer that contains ceramides or squalane. This layered approach locks in hydration and supports the skin’s repair process.
When can I start using sunscreen?
Start with a mineral sunscreen at least 24 hours after treatment, but keep the skin protected for the full two‑week window. Reapply often, especially if you’re outdoors.
What makeup is safe after microneedling?
Wait 24 hours, then use a mineral‑based, non‑comedogenic foundation. Avoid heavy, oil‑based products and make sure your tools are clean.
Should I avoid exercise?
Light activity is fine, but skip intense workouts, hot yoga, or saunas for the first 48 hours. Sweat can irritate the fresh pores and increase the chance of infection.
Can I take anti‑inflammatory medication?
Acetaminophen is safe for pain relief. Avoid ibuprofen, naproxen, or aspirin for the first few days because they can thin the blood and slow down the healing response.
When will I see the final results?
Collagen remodeling continues for several months. Most people notice smoother texture by week 2, and the full glow appears around the 4‑to‑6‑week mark.
Conclusion
Microneedling is a powerful way to jump‑start skin renewal, but the aftercare routine makes the difference between a mediocre result and a radiant, long‑lasting glow. By cleansing gently, applying a soothing serum, locking in moisture, shielding your skin from the sun, skipping makeup for a day, and managing any side effects, you give your skin the best chance to heal cleanly and produce fresh collagen.
Remember, the steps we outlined are based on clinical best practices and the latest research. If you ever feel unsure, your provider at PS Aesthetics Wellness + Skinbar is ready to answer questions and tailor the plan to your unique skin type. For more in‑depth guidance on post‑procedure care, explore our PS AESTHETICS wellness + skinbar services page to see how we can support your skin journey.
Take the time to follow each step, stay patient, and enjoy the transformation. Your skin will thank you with smoother texture, reduced fine lines, and a youthful glow that lasts well beyond the treatment day.


Comments